New Design Team Member!!!!
Yes it's little old me!!
Well you could say gobsmacked was the operative word on the day I opened my
e mails and there it was, staring at me, the lovely ladies at The Craft Barn were asking me, yes me, if I would consider being on their Design Team.
It didn't take me long to think about it (well no time at all really). I was honoured to be asked.
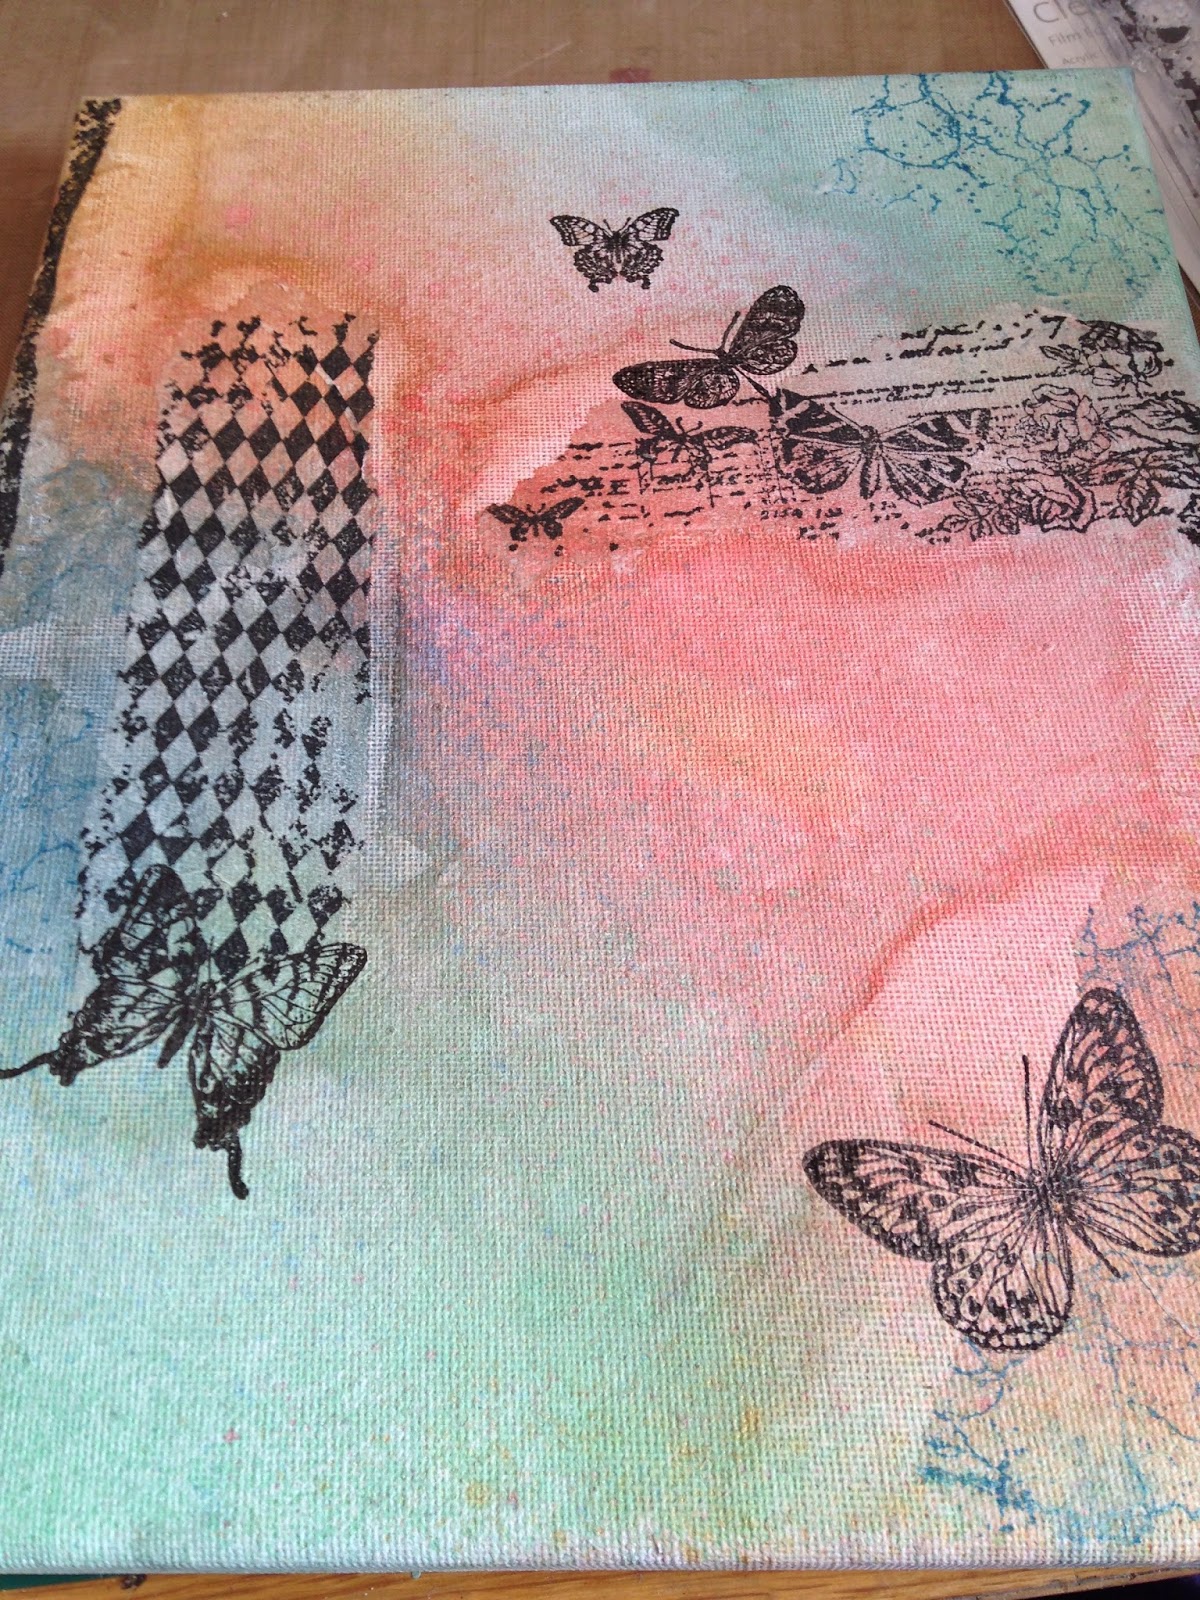
So here it is...... my first DT project......and I've only had to go and use those brilliant new Prima Marketing Colour Bloom Sprays, such a chore NOT!! Now you may need a sit down and a nice cuppa for this one as it has a tutorial too
I've done a canvas and I hope you like it. I've combined my love of stamping with the sprays and used the Kaisercraft Texture Stamps
Pop along to the Craft Barn Blog and take a look here.......
http://www.thecraftbarn.co.uk/blog/
I started by spraying water on to the canvas and when it was nice and wet I sprayed the Colour Blooms.
Allow the colours to run around the canvas then heat gun it dry. If you think you need more colour, as they will dilute quite a lot with the added water spray, just keep adding more water and more sprays until you get the colour you want. Don't be frightened to move the colour around. This is how it started...........
then you need to tear around the images as you only need 1ply. It's better to tear them than to cut them out
I applied them to the canvas with IndigoBlu Slap It On
Then I added Gold Pearl Cosmic Shimmer Texture Paste through the Kaisercraft Honeycomb Stencil
then allow it to dry. It looks white here but does dry pale gold
Next was to colour some Kaisercraft Paper Blooms with the sprays and dry off with a heat gun for speed
Add the final leaves and metal corners and there you have it.
I hope I can do the team proud and once again thank you to the Craft Barn


A fabulous canvas, love the background and all the images you've used
ReplyDeleteWell done hun, very well deserved :) Beautiful canvas xxx
ReplyDeleteThanks thanks Tracy for your kind words and thanks also Jane
DeleteP xx
Ah wow very well done hun well deserved and this canvas is delicious hugs Judith x
ReplyDeleteLovely project & well done for becoming part of the Craft Barn DT, the sprays are on my 'must have' list - are they as good as they look?! :-)
ReplyDeleteYes Deborah they really are. They have a trigger action which means you can spray or squirt them for different effects. I loved using them
DeleteP xx
Fabulous news...you will do them proud! Love the canvas, you have inspired me to have a go. x
ReplyDeleteGreat news - congratulations and well done - as well as deserved!! Love this canvas - beautiful!! Great project!
ReplyDeletexx
xx
The comments are much appreciated ladies, there will be step by step instructions with the Craft Barn projects every week so I hope to give you all even more inspiration to gave a go
ReplyDeleteP xx
This is fabulous, love the tutorial and fabulous design and textures.
ReplyDeleteHugs
Linda xxx
Wow this is gorgeous fab tutorial xxx
ReplyDeleteFabulous canvass and tutorial.
ReplyDeleteSylv xx
Totally GORGEOUS!
ReplyDelete