Here it is guys, let's hope you understand it!!!!
You may want to grab yourself a cuppa and get sitting comfortably before you begin
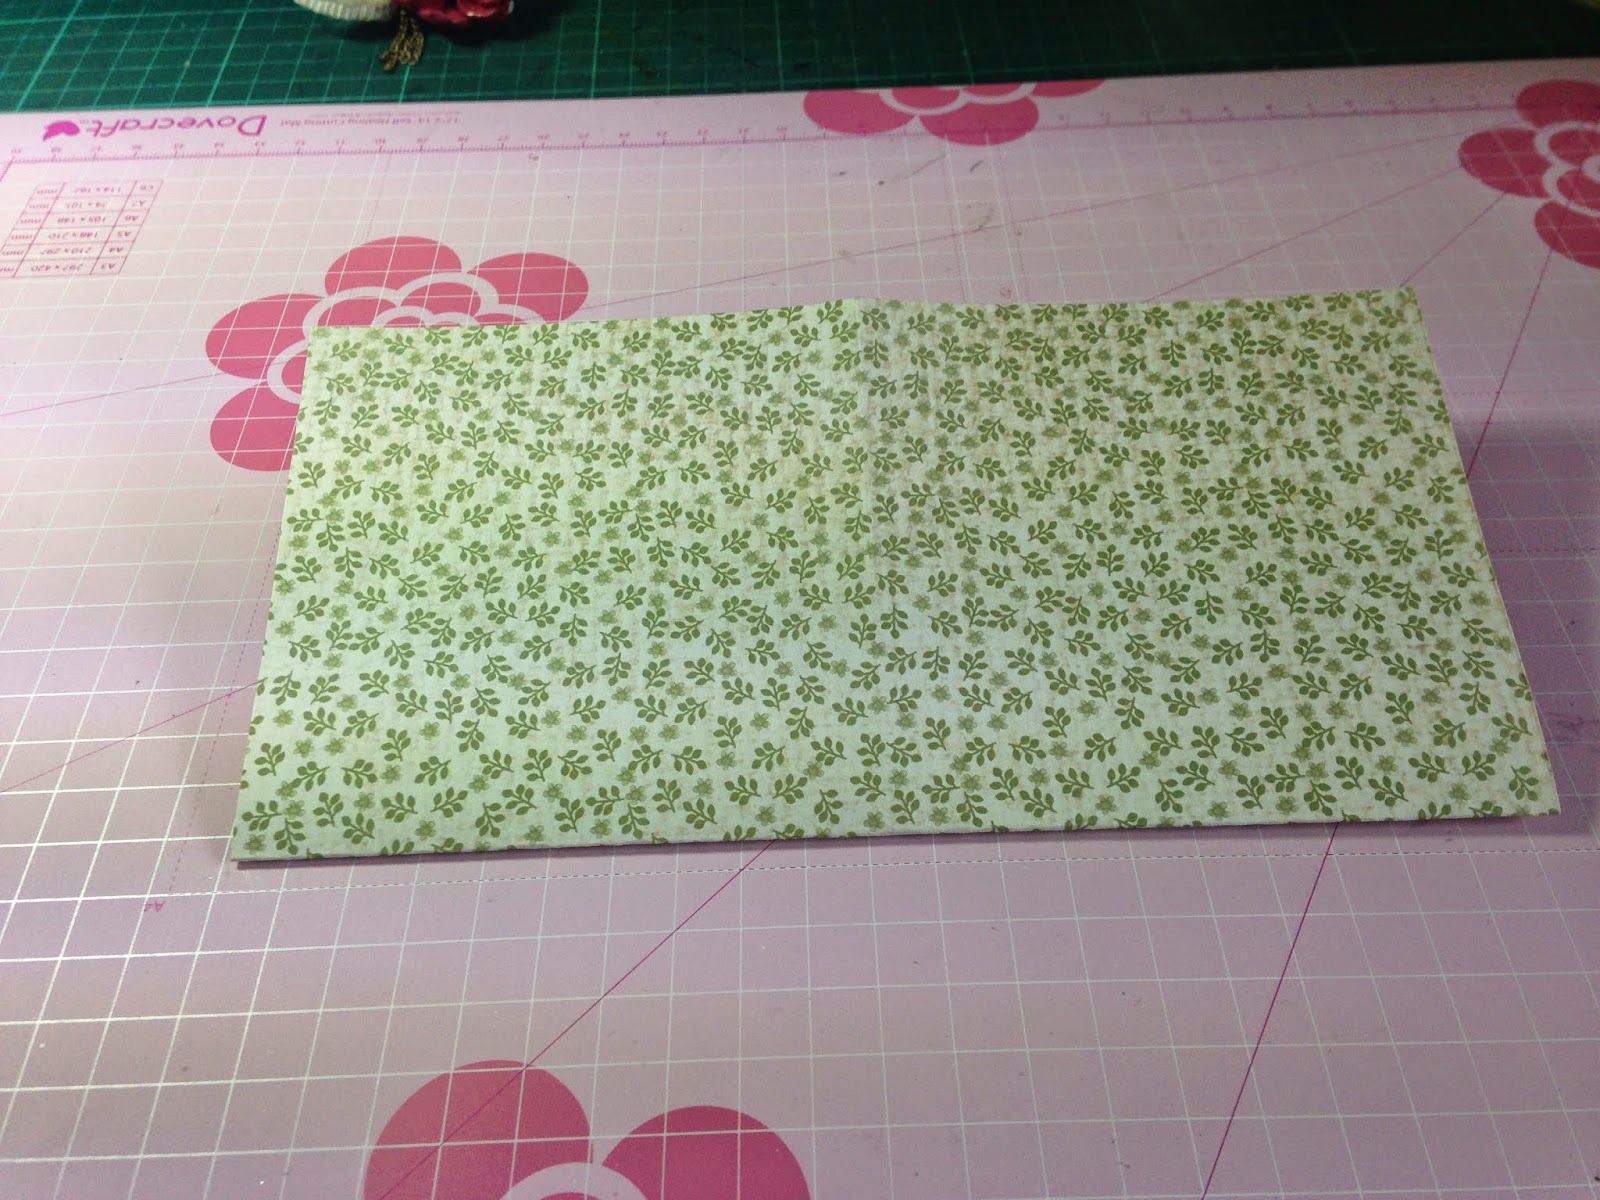
Firstly you will need and 8" square of double sided paper
A 10 cm square of co-ordinating paper
And a 7 cm square of card colour to match paper
This are the sizes I used for the ones shown but as long as you start with a square you can make any size you wish.
I sometimes start with a 12 x 12 inch paper and use it on a scrap layout
Start by folding the 8" square of paper in half.
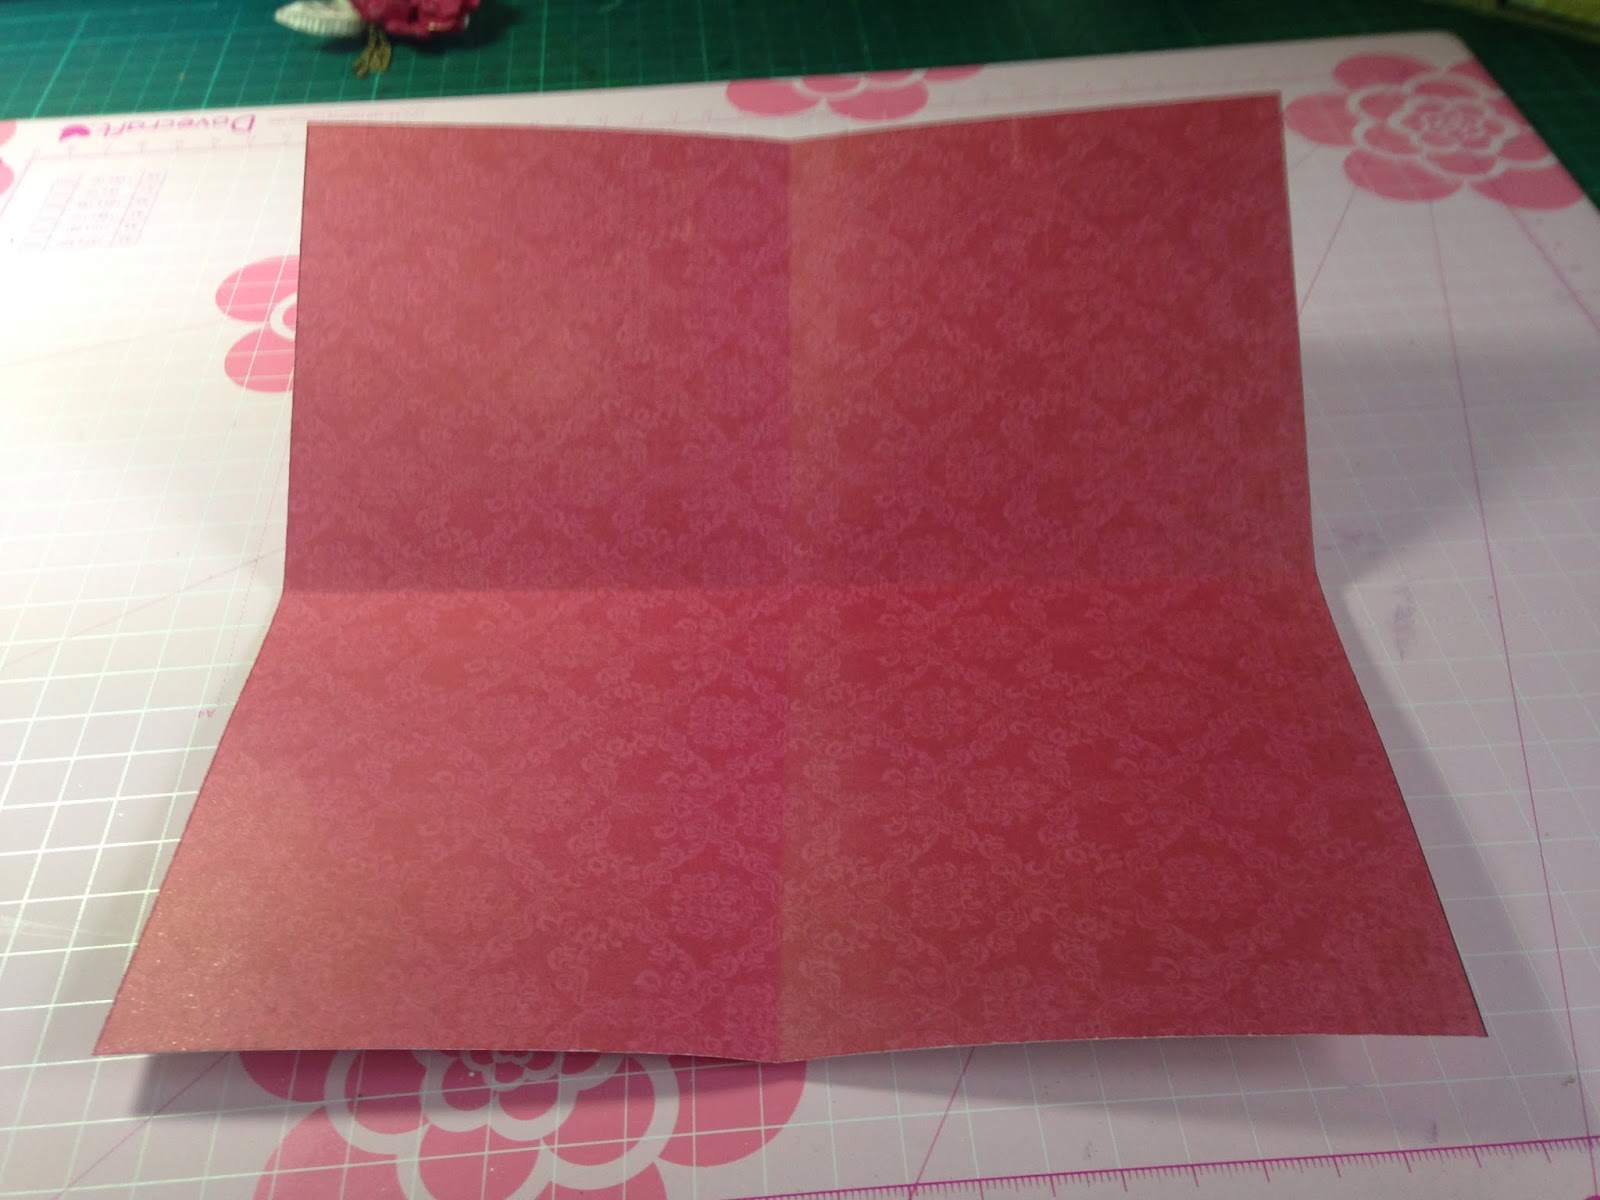
Open it out, turn it round and fold again
.
Now fold each of the four sides into the middle - to meet the folded line - then open paper out again.
Turn the paper over and re fold those folds - this will help with the finished folds.
Okay so now you need to fold each point into the centre to meet the score lines.
Open paper out and re fold on the other side.
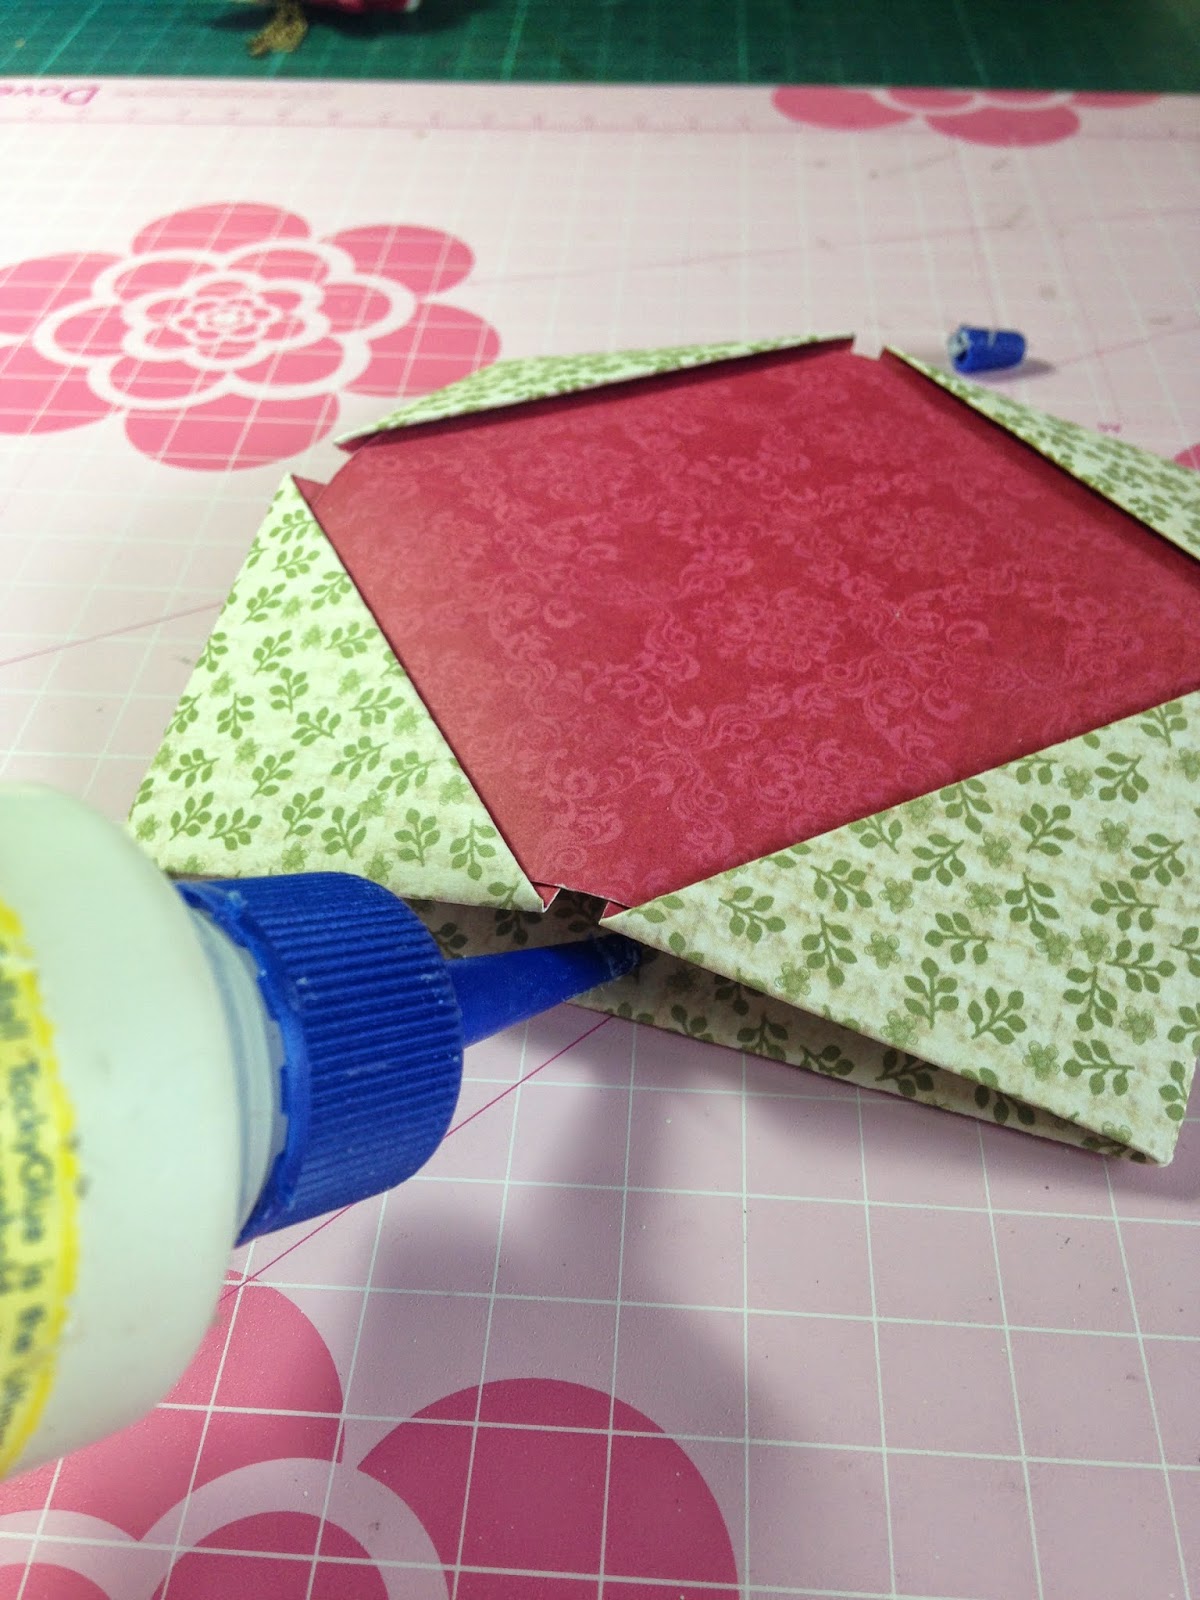
Next fold each corner point just into the first scored square - you can leave those triangles folded in, they don't need to be re folded as they stay where they are.
Now for the final bit.....
You need to lift the sides in whilst making sure those points stay tucked in. It's a bit like making those folded thingies we used to make at school.
When all folded go over with a bone folder to flatten edges.
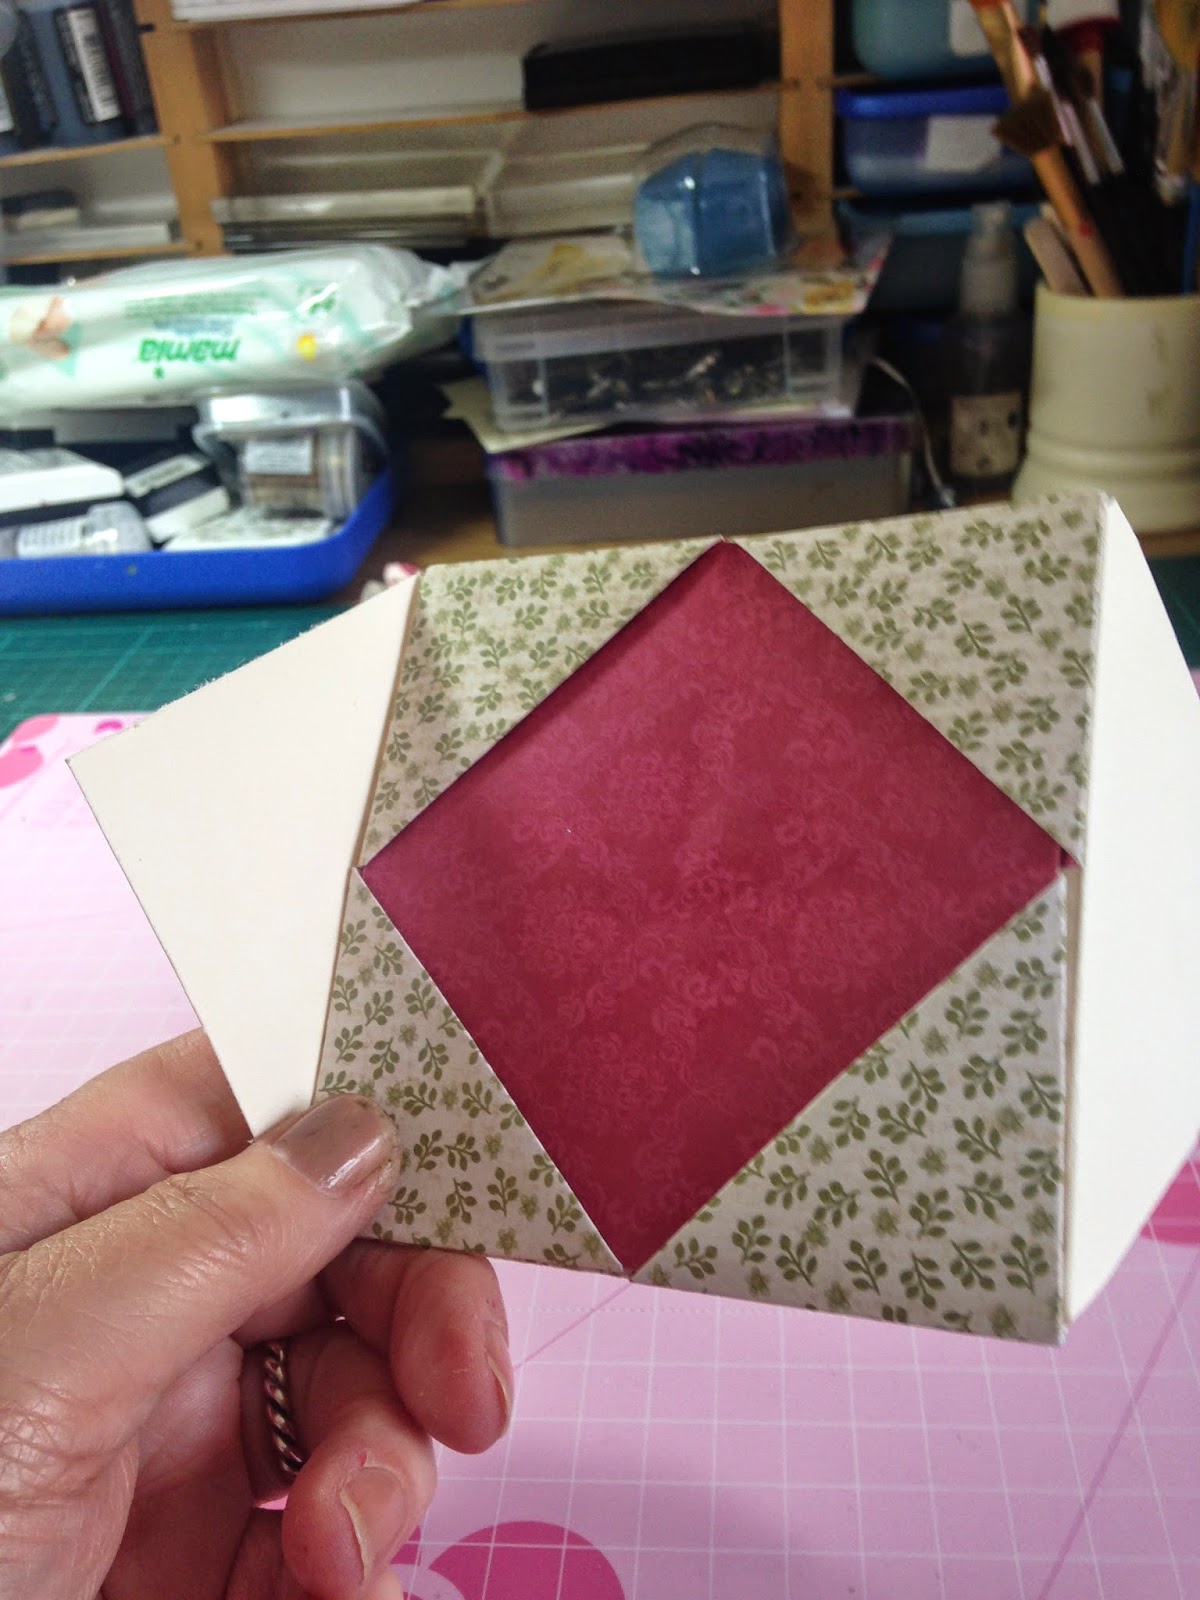
The folded frame is now 10 cm square and you need to fit the 10
cm square of paper into the corners of the frame.
If it doesn't lie flat you may need to trim off a tiny bit from the paper square.
Now glue the top and bottom edges together.
If you want to leave the frame as it is to add a photo glue the other side edges too, but if you want to make a folded mini book leave side edges open.
Now take the 7 cm square of card and fold it diagonally in half.
Apply glue to both sides of one triangle
and insert it into the side of the frame.
If you are making a frame with two sections just repeat the gluing for the other triangle and add another folded frame.
This will now close together and can be used as it is.
If you are making a concertina frame add another folded card to the other side panel but this time it must face the opposite direction - to allow it to concertina
I hope this is helpful to you all, especially you Jo xx


Fantastic tutorial, thank you for sharing Pauline x
ReplyDeleteFabulous tutorial thanks for sharing - I made one of these a long time ago and I am glad to be reminded how to make it!!
ReplyDeletexx
Fabulous and thank you for sharing this tutorial.
ReplyDeleteHugs
Linda xxx
Many thanks for this easy to follow tutorial, Pauline. I have had great fun over the weekend using the fabulous Kaleidoscope papers to make a memories album for my friend's daughter who moves into her new home today and am thrilled with the results! Can't wait to start on my next, Jo :0)
ReplyDeletePhew Jo!! So glad you could follow it. Happy crafting and hope to see you in Preston on 5th June
DeleteP xx